Tuesday, October 16, 2012

Bathroom exhaust fans before and after


A Shop Vac is much more portable than using a regular vacuum cleaner. I also use it to clean fireplaces, window/sliding glass door and cabinet draws


Monday, October 15, 2012

Sinks before and after


                      There are several good stainless steel  cleaners.

This is a good everyday cleaner. For sinks that are not badly tarnished. Just wet sink and sprinkle powder into sink. It will turn in to a paste. I use it just for sinks. I do not recommend that you use this for other stainless steel appliances.


I find that this works very well. It doesn't take much and the results are amazing, with very little effort. This works great on heavily soiled sinks.

Sunday, October 14, 2012

Stoves before and after

stove 14 photo SAM_0401_Converted_zps7e11c3e8.jpg


stove 15 photo SAM_0402_Converted_zps9e69d2a5.jpg
\


Easy-off Appliance Cleaner

Stovetop Cleaner

I cannot say enough good things about this product. It does what it says it’s going to do.It is recommended for use on all types of stovetops and surfaces. (As always, test it in an area that won’t be notice before cleaning your stove, just to make sure it is not going to damage it).

It’s a 3 in 1 cleaner: cleans, shines and protects


Cerama Bryte
Cerama Bryte is for glass/ceramic cooktop cleaning, first scrap off burnt on food with razor blade, then use this product the same as the product above

Saturday, October 13, 2012

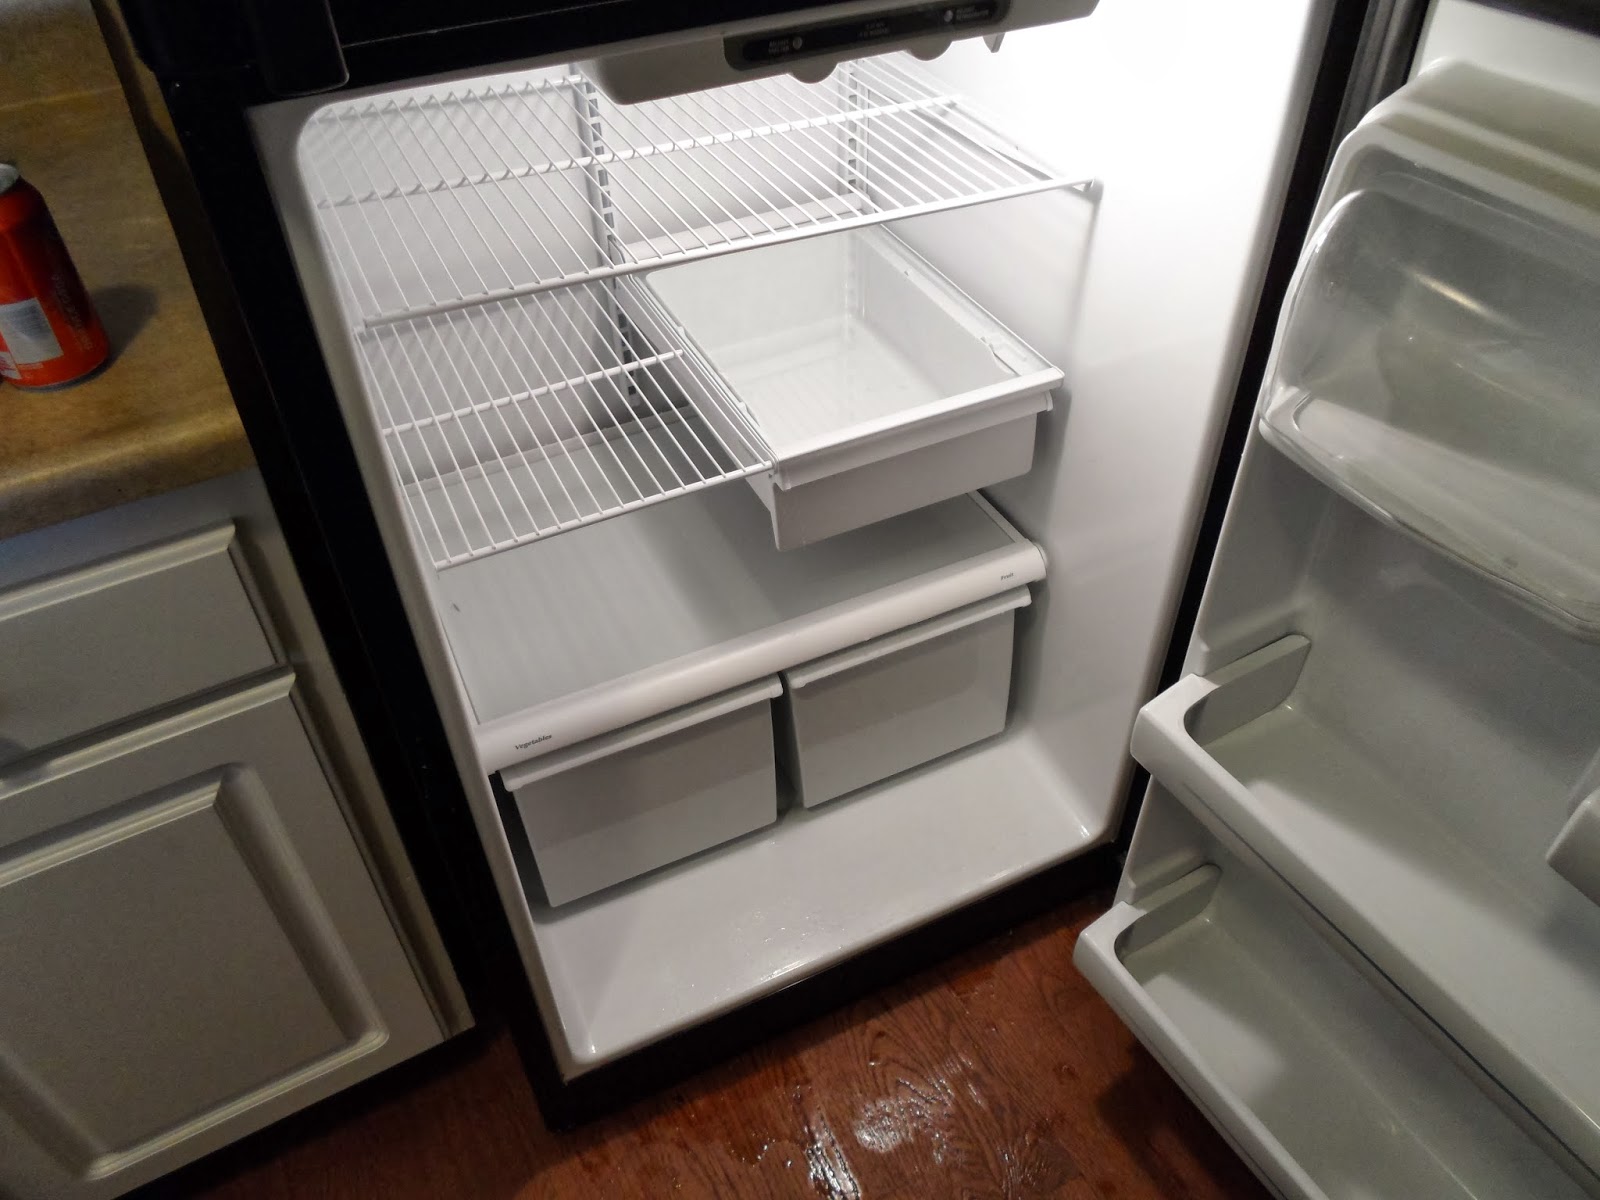
Refridgerators before and after


Unfortunately the refrigerator takes a lot of abuse.

Clean up any spills as soon as they happen. That means that you need to remove the drawers and clean under them. This is the location with the most potential for trouble as the stains are likely to stay.

Always store food in covered containers. Open things can easily spill or be pushed to the back and forgotten about until they spill or spoil.

To stop odors, store an open box of baking soda in the refrigerator.

Start by removing everything from the refrigerator. Put the food in a cooler or another refrigerator if you think the project will take you a while.

Turn off the fridge

Remove all of the removable things such as the shelves and drawers.

Use a terry cloth, dish detergent and a bit of scrubbing to wash down everything inside. Try to remove any and all debris that you can. Get into all of the seams, edges and any other hidden areas.Tough stuck on spills may need a plastic, non-abrasive scrubber. Another option, is to lay a warm wet cloth over the spilled area for a few minutes. The spilled area will be softer and easier to wipe away.

Use a clean cloth to wipe down everything a second time. This will insure that there are no germs lurking.

Air dry or use paper towels to dry off the inside of the refrigerator.

Wash down the drawers and shelves thoroughly. Use dish detergent and hot water, rinsing well. Allow them to air dry or dry them with a paper towel.

Reassemble the fridge, turn it back on and load the food back in.
Use a clean cloth with hot water and a mild detergent like dish soap. Work from top to bottom to prevent dripping on surfaces that are already clean. Tough stuck on spills may need a plastic, non-abrasive scrubber. Another option, is to lay a warm wet cloth over the spilled area for a few minutes. The spilled area will be softer and easier to wipe away. Rinse cloths thoroughly and/or use multiple cloths to insure cleanliness. Pay special attention to the bottom crevices and back of the refrigerator where spills tend to migrate. Finally wipe down the interior doors.
Use the same methods listed above to clean out a freezer. The great thing about freezers is that they rarely have spills and need to be scrubbed out much less often. You may need to only check for and remove expired food. If the freezer does require more thorough cleaning, you can use the same methods used in the refrigerator.

Thursday, October 11, 2012

BLINDS before and after


1. Vacuum blinds often with the brush attachment. Vacuum across the slats, not up and down. Finger marks, and dirt buildup may need some extra help after vacuuming.

2. Use a lamb's-wool duster, again working across the slats and starting at the top. Do not use plastic dusters.

3. When dusting or vacuuming vertical blinds, brush downward only, as the slats often become unhooked if you brush upward. There is a also a very small hole a top of blinds, brushing upward can break small lip a hole and you must buy a new verticle blind to fix it.

4. Use a rubber sponge, to remove dust and residue from both fabric and vinyl blinds. Simply wipe the dry sponge firmly across the blinds
.
5. If fabric blinds become very dirty, take them to a dry cleaner.

6. For spot cleaning, spray an all-purpose cleaner onto a clean dry cloth and wipe the soiled area of the blind. Never spray the cleaner directly onto the blind.

7. You can wet wooden blinds when cleaning, but don't soak them. Clean them in place instead of removing them as you would for other types of blinds.

8. Do not try cleaning blinds by spraying them with a car-wash hose, dunking them in the tub or one slat at a time.

9. To clean metal and vinyl blinds, follow this method: Take the blinds outside to your patio or driveway and lay them on a small rug or piece of carpet. Put a few drops of dishwashing soap in a bucket of water. Wet a car-washing brush and brush the blinds from side to side, and then turn them over and brush the other side. Rinse the blinds gently with a garden hose while tilting them so that the water runs off. To prevent water spots from forming, quickly run your finger down the slats a couple of times to remove excess water. When done, drape the blinds over a fence or a couch to dry.

Tuesday, September 18, 2012

CLEANING TILE FLOORS


When using bleach or other harsh chemicals, you may want to consider wearing protective gloves. Also, never mix cleaning chemicals. If you clean with bleach or other harsh chemicals, be sure the area is well-rinsed and has air dryed before cleaning that area with another cleaner.

Tile floors are a handsome way to brighten the decor of your home, and provide a sturdy floor covering at the same time. Tiles are usually sealed with glaze, much like a potter's glaze, giving them their beautiful shine and making them virtually unbreakable. If protected, cared for, and cleaned properly, tiles can stay looking like new for many years.Simply clean them regularly, avoid dust and grit, and your tiles will look like new for years to come! After the tiles have been laid, see to it that they are sealed with the correct sealant. The manufacturer will recommend the correct sealant to use.

Many people want to polish their tiles or put treatment oils on them to make them extra shiny. Do this only if you have very good insurance or you don't ever intend to walk on the tiles. Oils and polishes make the floor dangerously slick, even for someone with rubber soled shoes. Oils also cause the tiles to attract dirt, thus making them extremely difficult to keep clean.

It is not difficult to clean tiled floors, but you should clean them regularly so that they don't lose their original luster and stains don't become permanent. If liquid spills on your tile floor, it should be wiped up immediately. The grout is porous and will absorb any liquids that are left to soak on it. So, to prevent your grout from become discolored and deeply stained, clean up spills quickly.

Before wet-cleaning your floor, you should sweep up or vacuum any loose dirt or food crumbs that are on the surface paying particular attention to corners. This will prevent scuffing the surface of your tile. Scratches in the tile's glaze will lead to dullness. Scratches also trap dirt which in turn causes future cleanings to become more difficult.