Wednesday, October 17, 2012

Toilet Before and After Cleaning

                                                           Toilet Before Cleaning

Toilet After Cleaning


Zep    Acidic Toilet Bowl Cleaner
   
       This is the best cleaner, I have found for this type of job.


I pour it straight into the toilet and let it sit for 5 mins. Scrub and  repeat if nessesary.  I also use this in a spray bottle to get under the rim of the bowl.


For hard water rings around the toilet bowl nothing bets a Pumi stick


If you toilet just need a touch up
 
None of us likes to do it, but we all appreciate the results of having a clean toilet in the bathroom.

Though it may seem like a simple task, scrubbing the toilet actually should be done in several steps. Omitting even one of them can detract from the odor- and germ-free bathroom environment everyone prefers and guests will notice.

Remove bathroom rugs and the toilet seat cover, if you have one. Wearing rubber or plastic gloves to protect your hands is a must.

Start by scrubbing inside of the toilet bowl. Raise the seat. Add a small amount of bathroom cleaner, perhaps the size of a quarter. Swish the cleaner through the water with the toilet cleaning brush to make foaming suds. Then gently brush water against the sides of the bowl and under the lip of the seat. Scrub away stains, spots, and debris, concentrating the brush activity at the bottom of the bowl.

After scrubbing, flush the toilet and wait to see if most of the grime is removed. If not, repeat the process.

Next, use a small bucket with warm water and cleaner ( perferably a cleaner with a desinfected) to dampen a clean scrub cloth. Wipe the top and bottom of the toilet seat and rinse the cloth. Then wash the water tank behind the toilet, including front and sides, and as much of the back area as you can reach. Finally, wipe all sides of the pedestal bowl and the adjacent floor and wall areas.

You can either wipe off extra moisture or allow it to air dry. If possible, open the bathroom windows or door or turn on exhaust fan to vent the area well. Fresh air adds a secondary enhancement in purifying the toxic air.

You may want to place a toilet bowl deodorizer on the lip of the pedestal. These devices can remove scented cleaning product with each flush to keep the bowl clean and fresh. Or you can place a plug-in deodorizer in a wall socket to freshen the entire room.

Put down clean rugs, and you're done! Stock antibacterial soap at the sink and tub areas so all bathroom users can wash their hands after each visit to prevent the spread of germs. Change towels every few days for the same reason. Don't let your toilets become permanently stained or foul-smelling. Take a few minutes each week to maintain their appearance, scent, and function

Porch Before and After


Tuesday, October 16, 2012

Kitchen cabinets before and after

kitchen cabinet 3 photo SAM_0399_Converted_0001_zpsb5ed9b8d.jpg

kitchen cabinet 4 photo SAM_0403_Converted_zpse90ea176.jpg


Home Remedy Plus Industrial Degreaser


Bathroom exhaust fans before and after


A Shop Vac is much more portable than using a regular vacuum cleaner. I also use it to clean fireplaces, window/sliding glass door and cabinet draws


Monday, October 15, 2012

Sinks before and after


                      There are several good stainless steel  cleaners.

This is a good everyday cleaner. For sinks that are not badly tarnished. Just wet sink and sprinkle powder into sink. It will turn in to a paste. I use it just for sinks. I do not recommend that you use this for other stainless steel appliances.


I find that this works very well. It doesn't take much and the results are amazing, with very little effort. This works great on heavily soiled sinks.

Sunday, October 14, 2012

Stoves before and after

stove 14 photo SAM_0401_Converted_zps7e11c3e8.jpg


stove 15 photo SAM_0402_Converted_zps9e69d2a5.jpg
\


Easy-off Appliance Cleaner

Stovetop Cleaner

I cannot say enough good things about this product. It does what it says it’s going to do.It is recommended for use on all types of stovetops and surfaces. (As always, test it in an area that won’t be notice before cleaning your stove, just to make sure it is not going to damage it).

It’s a 3 in 1 cleaner: cleans, shines and protects


Cerama Bryte
Cerama Bryte is for glass/ceramic cooktop cleaning, first scrap off burnt on food with razor blade, then use this product the same as the product above

Saturday, October 13, 2012

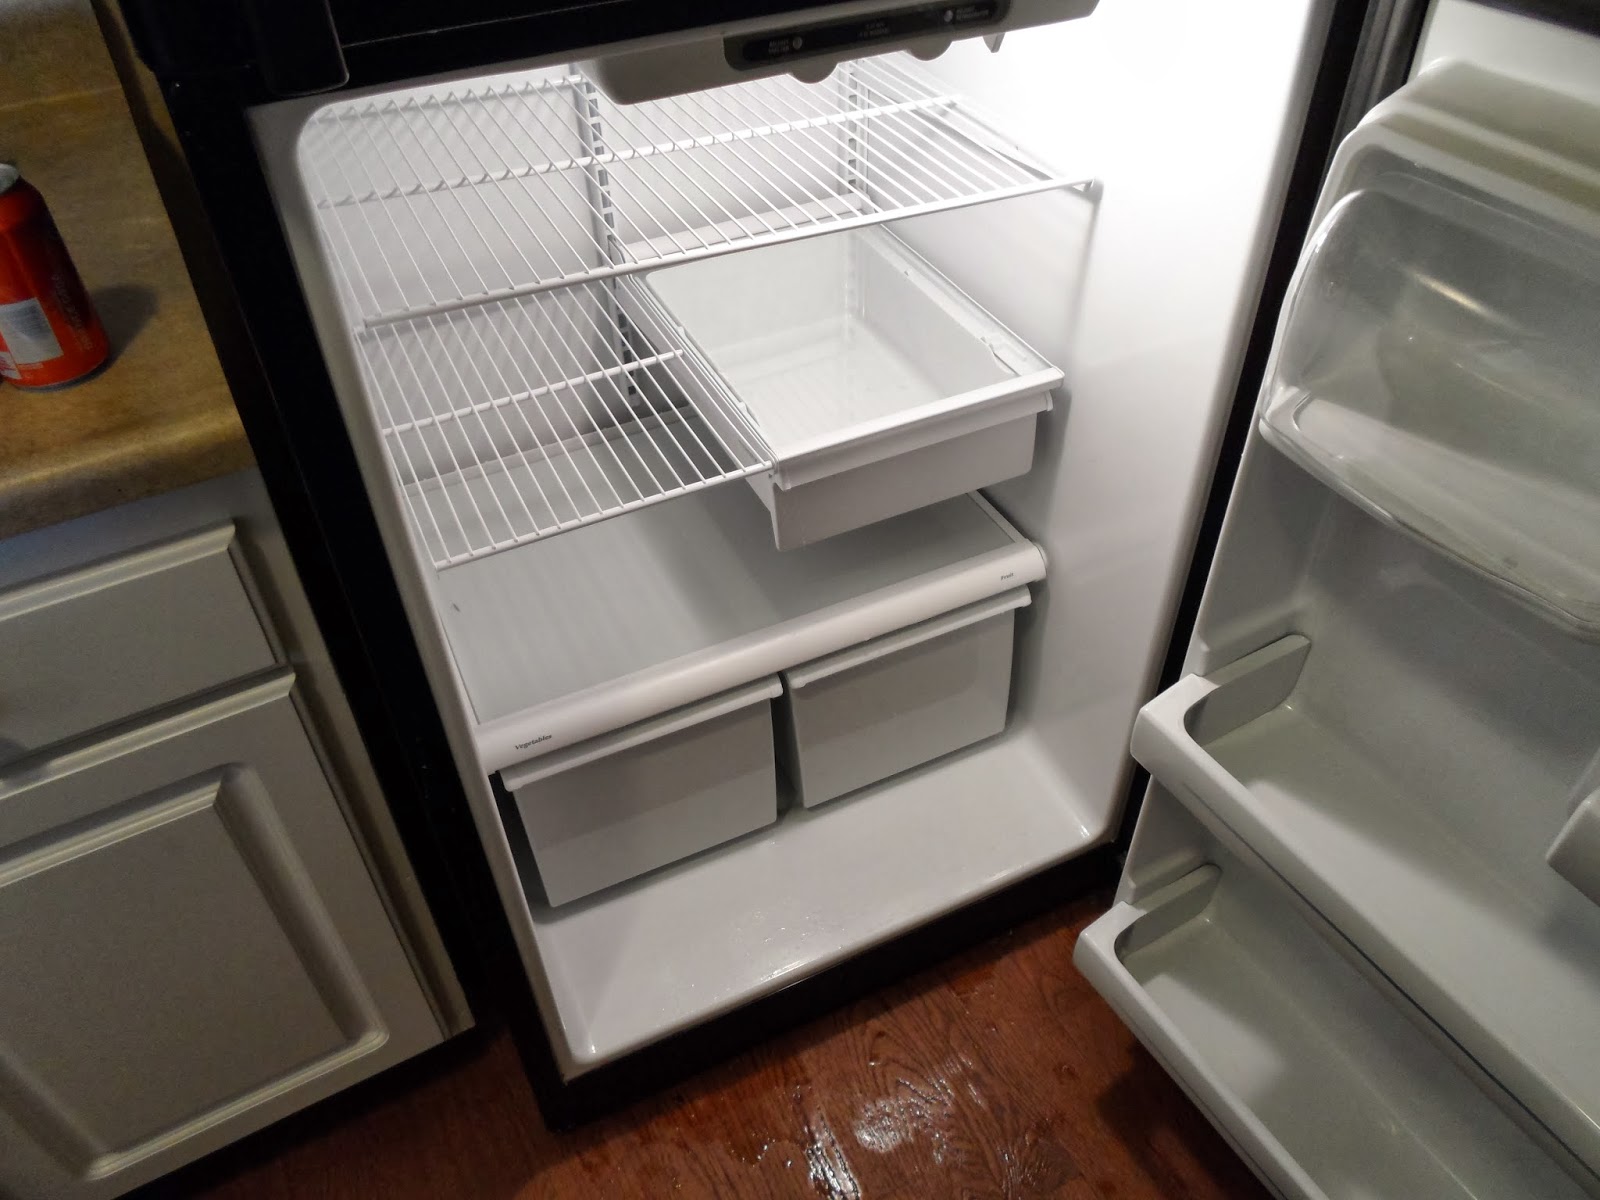
Refridgerators before and after


Unfortunately the refrigerator takes a lot of abuse.

Clean up any spills as soon as they happen. That means that you need to remove the drawers and clean under them. This is the location with the most potential for trouble as the stains are likely to stay.

Always store food in covered containers. Open things can easily spill or be pushed to the back and forgotten about until they spill or spoil.

To stop odors, store an open box of baking soda in the refrigerator.

Start by removing everything from the refrigerator. Put the food in a cooler or another refrigerator if you think the project will take you a while.

Turn off the fridge

Remove all of the removable things such as the shelves and drawers.

Use a terry cloth, dish detergent and a bit of scrubbing to wash down everything inside. Try to remove any and all debris that you can. Get into all of the seams, edges and any other hidden areas.Tough stuck on spills may need a plastic, non-abrasive scrubber. Another option, is to lay a warm wet cloth over the spilled area for a few minutes. The spilled area will be softer and easier to wipe away.

Use a clean cloth to wipe down everything a second time. This will insure that there are no germs lurking.

Air dry or use paper towels to dry off the inside of the refrigerator.

Wash down the drawers and shelves thoroughly. Use dish detergent and hot water, rinsing well. Allow them to air dry or dry them with a paper towel.

Reassemble the fridge, turn it back on and load the food back in.
Use a clean cloth with hot water and a mild detergent like dish soap. Work from top to bottom to prevent dripping on surfaces that are already clean. Tough stuck on spills may need a plastic, non-abrasive scrubber. Another option, is to lay a warm wet cloth over the spilled area for a few minutes. The spilled area will be softer and easier to wipe away. Rinse cloths thoroughly and/or use multiple cloths to insure cleanliness. Pay special attention to the bottom crevices and back of the refrigerator where spills tend to migrate. Finally wipe down the interior doors.
Use the same methods listed above to clean out a freezer. The great thing about freezers is that they rarely have spills and need to be scrubbed out much less often. You may need to only check for and remove expired food. If the freezer does require more thorough cleaning, you can use the same methods used in the refrigerator.